Table of Contents
Step 1 Shopping
Before starting to make anything, the first thing we all do is to collect all the equipment and stuff that are required to make that certain thing. There are certain things that you need to take with you before sitting to make a screen for screen printing. The things that are required are one pine strip that much be 1.8m long and should be about 22mm*22mm, four nut bots of about 70mm*6mm with their adjoining nuts, a driller that should have a bit of 6mm, a staple gun, a wooden glue, and mesh. You can get the mesh from the screen printing providers and the mesh count you need to make the screen is about 55 mesh count.
Step 2 cutting and drilling
The first step here is to cut the pine into four separate strips. You can cut each pine having a measurement of about 2*45mm and 2*35mm. Now you need to take the drilling machine, and on each pine end, you will drill a hole of about 20mm. both the sides of each pin strip’s end must be drilled properly using the driller
Step 3 layout of the frame
We are supposed to make a rectangular screen, but the four corners of the screen will not be attached. They should be overlapping. You need to give your screen a circular layout in which the corners are not attached; they are overlapping. The, of the frame will be connected will the help of bolts that, into the holes with the help of wooden glue. Once the nuts are inserted into the holes and the glue is applied, wait until it dries.
Step 4 covering the gap
Now it’s time to eliminate the overlapping of the frame we did in step3. The overlapping of the will be diminishing, but the corners of the will still be separated by the bolts. When the glue is dried, it is sheltered to move the bolts right to the gap. At that point tap the parts of the strip nearer with the goal that the bolts are jutting outwardly. Presently your casing ought to be square and the corners separated by the nuts.
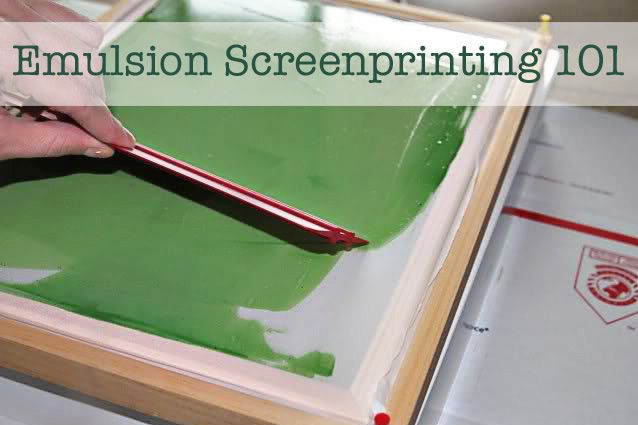
Step 5 placing the mesh screen on the frame
Now for this is Now step where you will attach the mesh screen to the frame. To, the mesh onto the frame, you need to get the stapler and staple the mesh with it on the frame. You keep the mesh loosen while stapling it on the frame because afterward the nuts will help you to tighten it if required. Now use the glue at the open ends of the mesh sheet to make it stronger. Give it some time to dry.
Step 6 Tighten the mesh sheet with a spanner
, is; the last step of making your screen; here you need to take the spanner to tighten the nuts for the enhancement of spaces on each corner of the screen. Never tighten too much at once, always go for small adjustments and make the screen tighter as much as you want. Keep using the spanner on each nut until you feel the surface of the mesh-like a drum or tambourine. Do not over-tighten the nuts because it will tear off the mesh screen.
Other Printing Services offered by City Of Packaging
-
 Custom Cardboard Door Hangers
 -
 Custom Menus Printing
 -
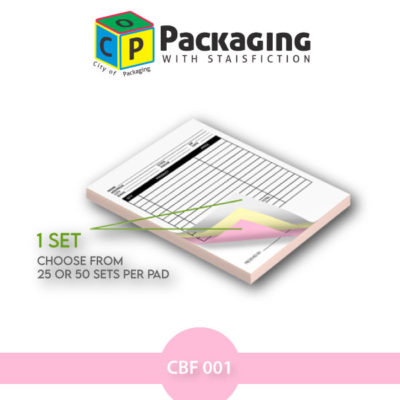 Custom Carbonless Forms
 -
 Custom Envelope Printing
 -
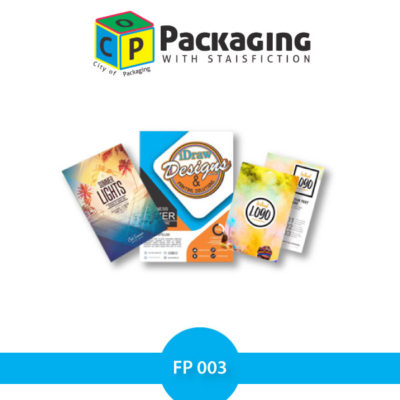 Custom Flyers Printing
 -
 Custom Magazines Printing
 -
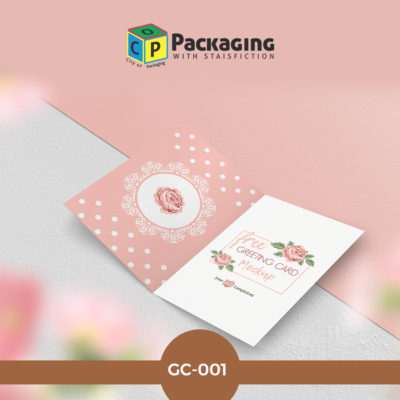 Custom Greeting Cards
 -
 Custom Calendar Printing
 -
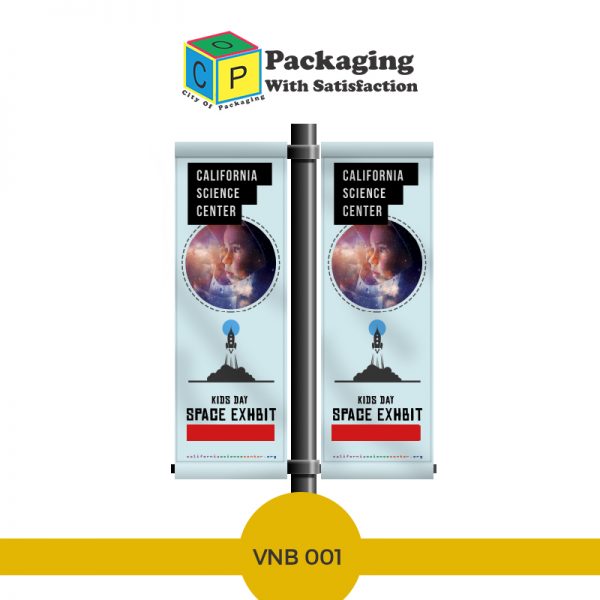 Custom Vinyl Banners
 -
 Custom Tags Printing
 -
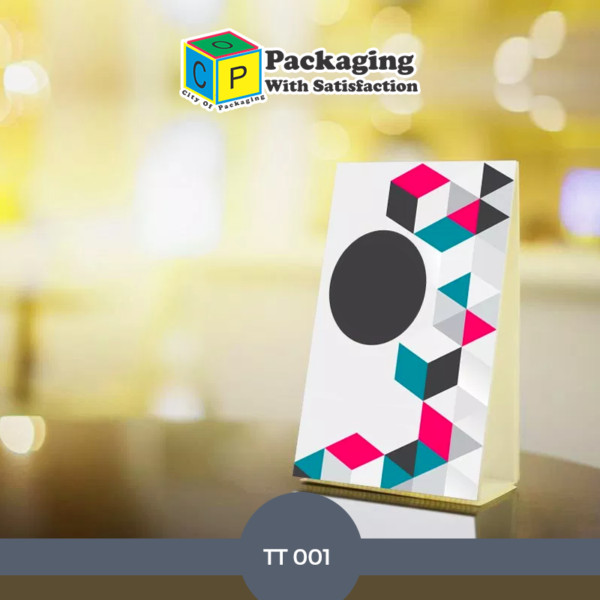 Custom Table Tents
 -
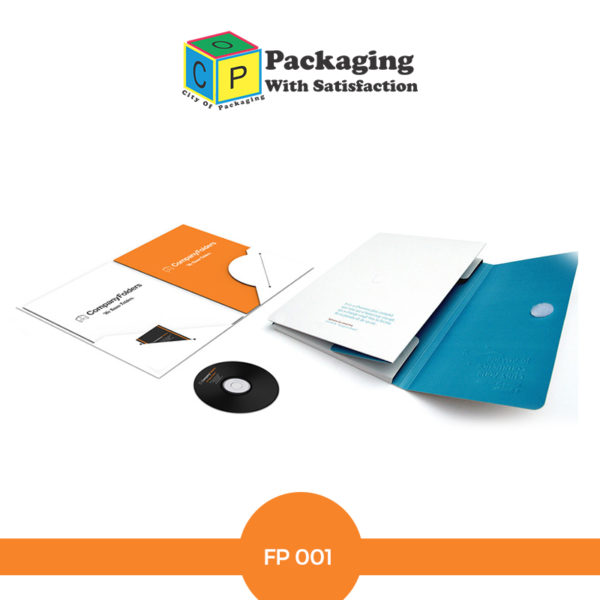 Custom Folders Printing
 -
 Custom Decals Printing
 -
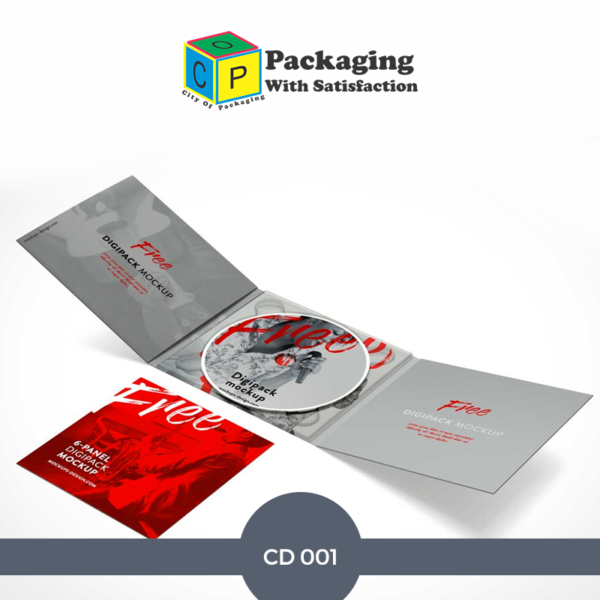 Custom Cd Jackets
 -
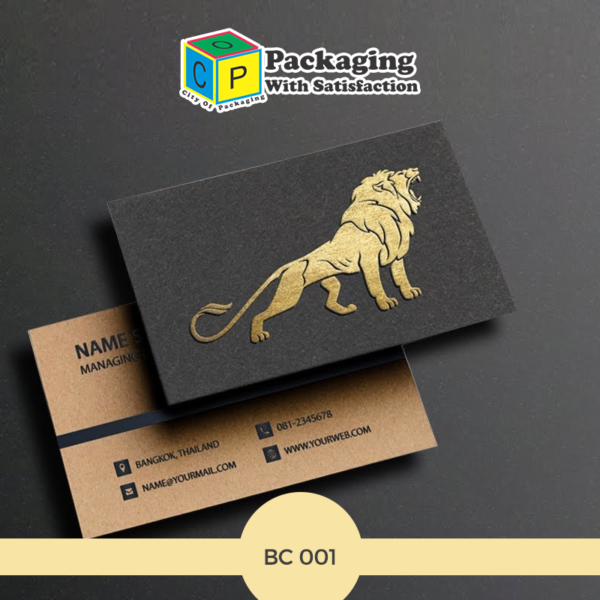 Custom Business Cards Printing
 -
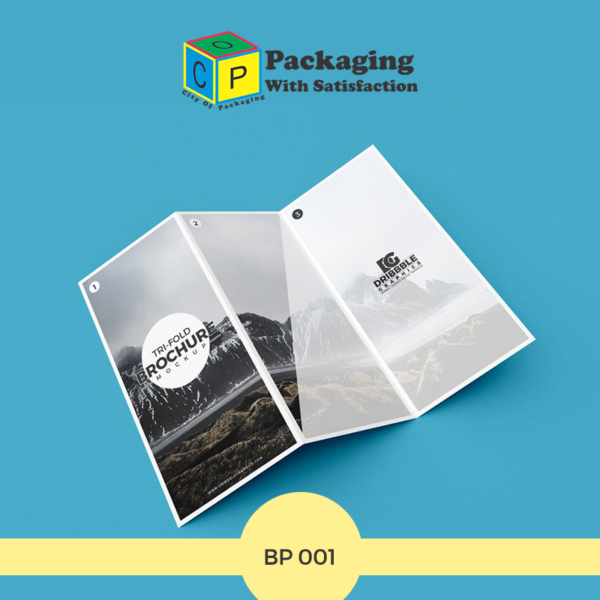 Custom Brochures Printing
 -
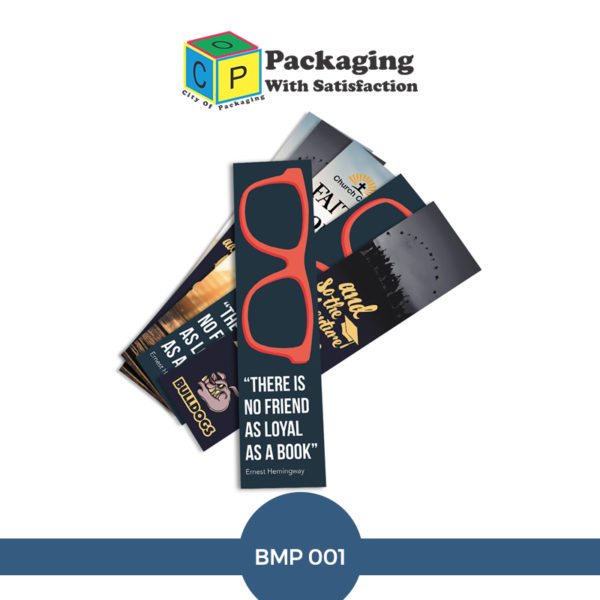 Custom Bookmarks Printing
 -
 Custom Booklets Printing
 -
 Custom Bags Printing